

Summary
- Adding a subwoofer is one of the best ways to improve your audio system, as it gives your music a deeper bass and more powerful sound.
- Any sort of installation or repair has its risks, regardless of how minor it is. For subwoofer installation projects, it’s important to disconnect the negative battery terminal before running power or making amp connections.
- You should also fuse the power wire near the battery to avoid or minimize the risk of shorts.
Adding a subwoofer is one of the best ways to improve your audio system, as it gives your music a deeper bass and more powerful sound.
While installing a subwoofer might seem intimidating at first, the process is pretty straightforward when broken down into simple steps and done correctly.
Pre-Installation To-Dos
Before anything else, you should have an idea of what type of subwoofer setup you’re going for. Most installs fall into these categories:
- Passive sub and amplifier
- Powered sub with a built-in amp
- Factory stereo integration
Tools You’ll Need
Here are some of the things you’ll need for your subwoofer installation.
- Subwoofer and enclosure
- Amplifier (for a passive sub)
- Amp wiring kit
- RCA cables or line output converter (LOC)/speaker-level inputs
- Speaker wire
- Socket set, wire stripper/crimper, ring terminals, zip ties, panel tools, multimeter
Safety Guidelines
Any sort of installation or repair has its risks, regardless of how minor it is. For subwoofer installation projects, it’s important to disconnect the negative battery terminal before running power or making amp connections.
You should also fuse the power wire near the battery to avoid or minimize the risk of shorts.
How to Install a Subwoofer In a Car
Here’s a general guide on how most subwoofer installations go.
Step 1: Plan Mounting Locations
Sub boxes and powered subs are usually placed in the trunk or cargo area.
As for the amplifier, choose a solid surface with sufficient airflow, such as the seatback, trunk side panel, and amp rack. Avoid mounting it to thin plastic panels.
Step 2: Route the Power Wire from the Battery to the Amplifier
Find a safe path through the firewall. If necessary, use a factory grommet. Also, keep the power wire away from sharp edges and moving parts.
Then, install the inline fuse holder near the battery, but don’t insert the fuse just yet.
Step 3: Ground the Amplifier
Use a short ground. Ensure that it’s bolted to a bare and clean chassis metal. You can sand the paint down first, and use a star washer before tightening the bolts firmly.
Step 4: Run Signal to the Amp
If you’re working with an aftermarket head unit with RCA outputs, run the RCAs from the head unit to the amplifier.
To ensure noise reduction, route the RCAs on the opposite side of the vehicle from the power wire.
But if you have a factory head unit with no RCA sub output, you’ll need to use an LOC or amp with speaker-level inputs. Tap into the rear speaker wires, then feed the amp.
Step 5: Connect the Remote Turn-On Wire
The remote wire sends a 12V signal to switch the amplifier on or off with the radio. This wire is typically blue or blue with a mix of white.
Step 6: Wire the Subwoofer to the Amp
Connect the amp’s “SUB/SPEAKER OUT” to the sub box terminal cup or directly to the subwoofer.
If you’re working with dual voice coil subs or multiple subs, confirm the wiring to the final impedance that your amp can handle.
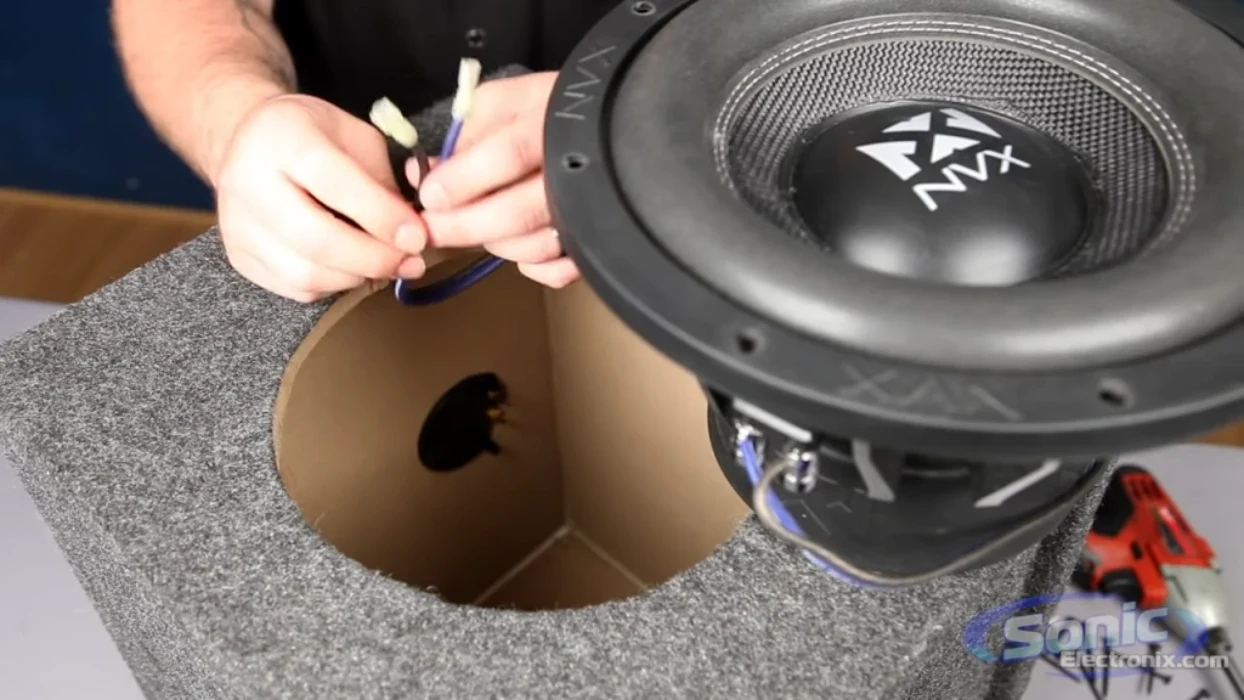
Step 7: Mount the Subwoofer to the Enclosure
If there’s a need to install the sub into a box, be sure to align the holes and create a tight seal around the enclosure.
Here’s a tutorial on how to install your subwoofer into a box
Step 8: Finalize Amp Connections
Plug all the necessary wires into the amplifier. Here are the connections you should keep an eye out for:
- +12V (power wire from battery, fused)
- GND (chassis ground)
- REM (remote turn-on)
- RCA / speaker-level input
- Speaker output to subwoofer
Step 9: Insert the Fuse and Power Up
Reconnect the negative battery terminal and insert the inline fuse. Then, verify that the amp’s power light turns on when the radio does.
Step 10: Set Up Crossover and Gain
Below are some recommended baseline settings you can consider.
- Low-pass filter (LPF): ~80 Hz (common starting point)
- Subsonic filter: On if using a ported box
- Bass boost: Off (at least until everything is clean)
Step 11: Test and Troubleshoot Accordingly
Test your setup by playing a test tune or a song of your choice. Check for rattles or loose panels, and make sure there’s no alternator whine or sub-polarity.
A properly installed subwoofer doesn’t just make your system louder. It also makes it sound better, adding depth and impact without distortion.
Taking the time to follow each step carefully helps protect your equipment and ensures long-lasting performance.
About The Authors

Christine F.
Christine is a dedicated content writer with over five years of experience covering a variety of automotive and car audio topics, transforming technical knowledge into compelling and easy-to-understand content. She’s passionate about writing articles that educate, empower, and inspire drivers and audio enthusiasts everywhere. In her free time, she enjoys playing tennis and going on walks with her dog.

Hunter V.
Hunter is a Tech Support Lead at Sonic Electronix who also works with the company’s marketing and R&D team. With eight years of experience in the car audio installation space, Hunter likes to make sure that our customers are always happy with their purchase. In his past time, Hunter enjoys building subwoofers and spending time with his kids.


