

A boomy, muddy, or distorted subwoofer output is often attributed to mismatched settings. To help you get the most out of your sub, here’s a beginner-friendly tuning process that you can follow.
Proper Subwoofer Tuning Is Everything
You’ll know your subwoofer is tuned correctly when it can hit low notes cleanly without distortion or clipping.
A properly tuned subwoofer shouldn’t require you to turn the bass knob all the way to its maximum configuration just to make it louder.
Tools You’ll Need
You’ll need to prepare a couple of things when tuning your subwoofer, including the following:
- A few songs you know well, including one bass-heavy track
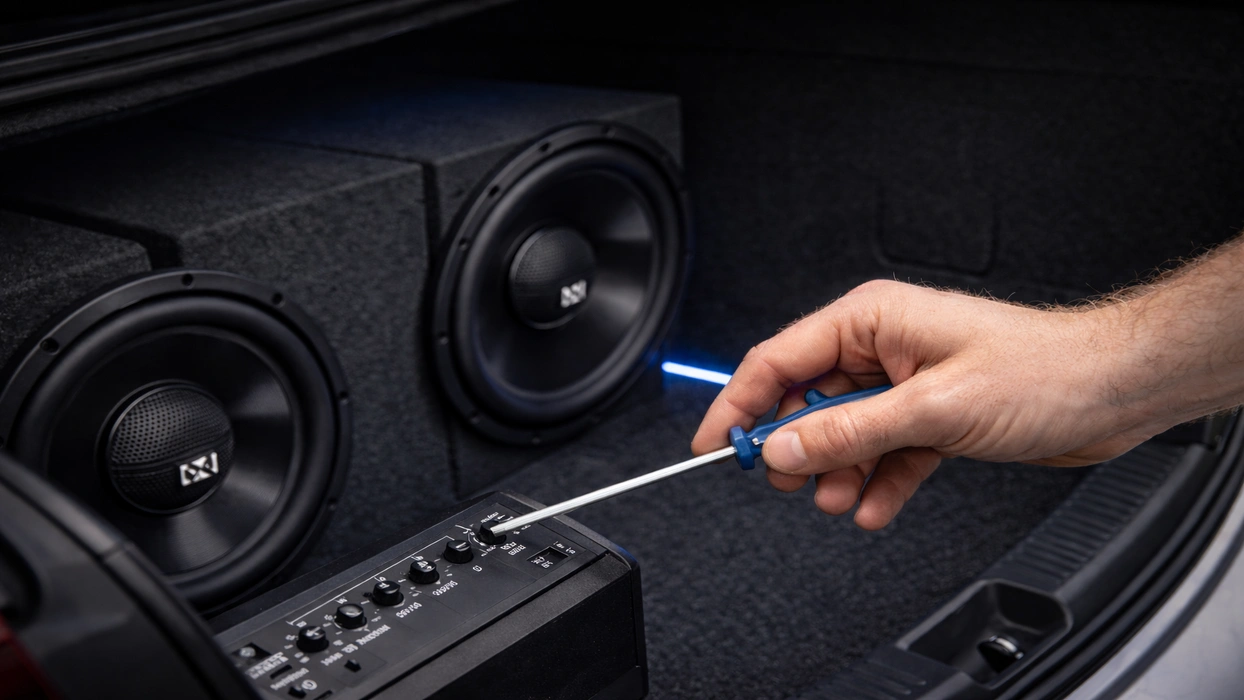
- A screwdriver for amp dials
- Digital multimeter (to set gain using voltage)
- Test tones (typically around 40–50 Hz)
- Oscilloscope (optional)
How to Properly Tune a Subwoofer

Here’s a step-by-step subwoofer tuning guide that generally works for most basic audio setups.
Step 1: Start Flat
Disable anything that artificially boosts your bass. Make sure your head unit is flat, and turn off loudness and bass boost or the “punch EQ” on your amplifier.
Also, set the amplifier to a middle or default position instead of its maximum output.
Step 2: Set Your Head Unit’s Max Clean Volume
Your head unit’s max clean volume will help you determine your amp’s gain.
To get the max clean volume, you can play a clean track or test tone, and raise the volume up to the point where you can hear harshness or distortion.
Lower the volume slightly from there. Remember the volume number when the harshness or distortion disappears.
Step 3: Set the Amplifier Gain
Setting your amp’s gain is one of the most crucial steps to tuning your subwoofer properly.
During this step, your goal is to match the amp’s input sensitivity to your head unit. This will allow you to get a loud output without clipping.
There are generally two ways you can go about this.
Option 1: Use a multimeter
- Disconnect the subwoofer from the amplifier
- Play a 40-50 Hz test tone
- Set the head unit to its max clean volume
- Calculate the target voltage: Target AC voltage = √(RMS watts × speaker ohms)
- Set your multimeter to AC volts at the amp’s speaker outputs
- Turn the gain up until you hit the target voltage
Option B: Follow your amp’s official gain-setting procedure
Some manufacturers provide gain-setting guides or documents that contain all the information you need to properly set your amp’s gain.
For more information on how you can set your amp’s gain, watch the video below.
Step 4: Set the Low-Pass Filter (LPF) Crossover
Most manufacturers recommend starting at 80 Hz LPF on the subwoofer, as this allows the sub to handle bass while the door speakers handle mids, thereby reducing muddiness.
Keep in mind, however, that you might need to make some adjustments as you go through this step.
For instance, if the bass sounds localized in the trunk area with an 80 Hz LPF setting, you can trim that down to 70. If you notice a hole between the sub and speakers, you can raise the LPF to 90 Hz.
Step 5: Set the Subsonic Filter
If your enclosure is ported, utilizing a subsonic filter will help protect the sub from ultra-low frequencies that the box can’t control very well.
A common practice is to set the subsonic slightly below the box tuning frequency. If you don’t know your box tuning frequency, it’s best to keep it conservative and avoid aggressive low-end boosting.
Step 6: Set the Phase for a Stronger and Smoother Bass
Phase helps your sub and front speakers “push” together instead of canceling each other out.
To determine the best setting for your setup, you can try sitting in the driver’s seat while playing a steady bass line around the crossover region.
From there, switch the phase between 0° and 180°, and pick the setting that sounds louder and fuller at the seat.
About The Authors

Christine F.
Christine is a dedicated content writer with over five years of experience covering a variety of automotive and car audio topics, transforming technical knowledge into compelling and easy-to-understand content. She’s passionate about writing articles that educate, empower, and inspire drivers and audio enthusiasts everywhere. In her free time, she enjoys playing tennis and going on walks with her dog.

Hunter V.
Hunter is a Tech Support Lead at Sonic Electronix who also works with the company’s marketing and R&D team. With eight years of experience in the car audio installation space, Hunter likes to make sure that our customers are always happy with their purchase. In his past time, Hunter enjoys building subwoofers and spending time with his kids.


