

The gain adjustment control on an amplifier is one of the most misunderstood concepts in the car audio world. Well, basic concepts that is. The purpose of the gain control is to level match the head unit’s output voltage to the gain structure of the amplifier so that the input is not overdriven which would introduce clipping.
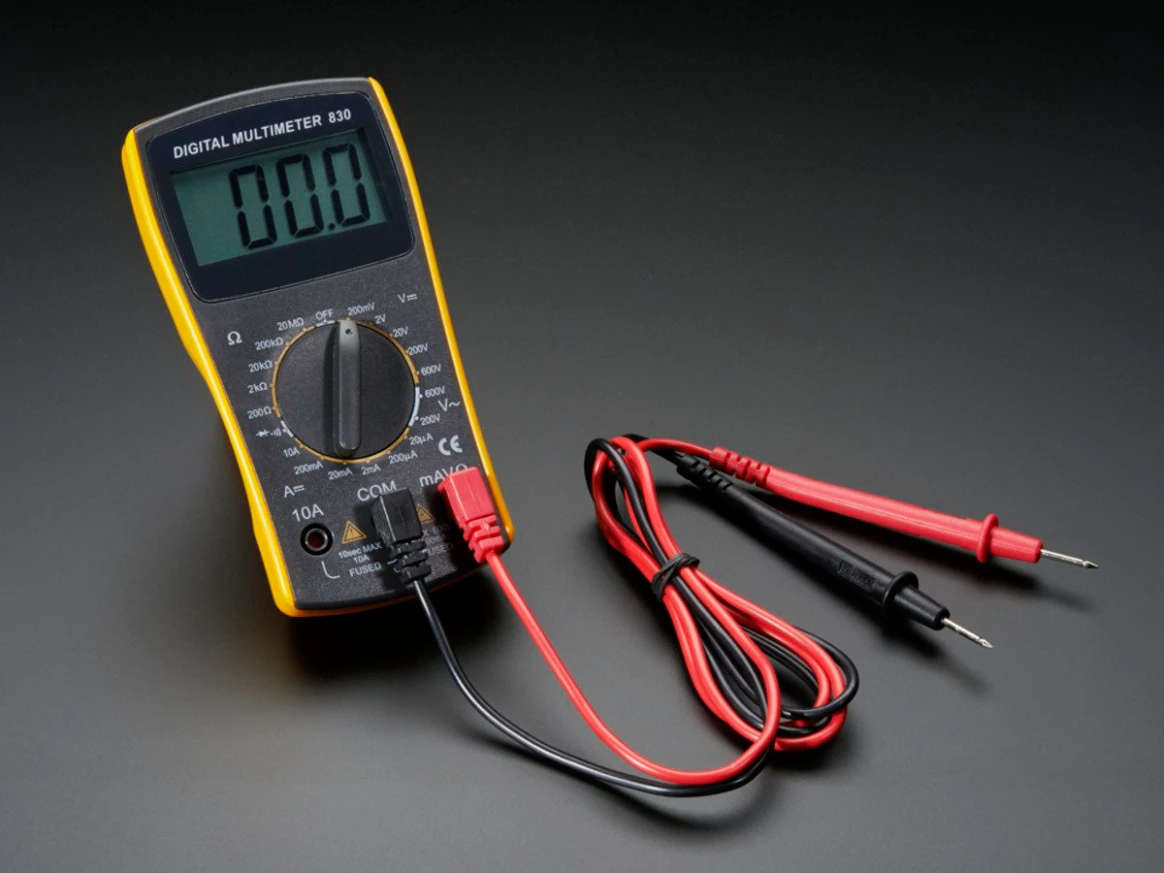
We first covered how to set your gains by ear in the article titled “How to Tune and Adjust Amplifier Gains and Bass Boost”, however this is not a great method to use because all of our ears are different and we often can’t hear the most deadly distortion. For those of us with a Digital Multi-Meter (DMM), setting your gains this way is the most effective method aside from using an oscilloscope.
Let’s get started
Step 1: Disconnect the positive speaker wire(s) from the positive terminal(s) on the amplifier.
Step 2: Turn off all EQ settings or set them to zero, such as Bass, Treble, Loudness, Bass Boost, Processing and EQ functions.
Step 3: Turn the input sensitivity (gain) to zero. For most amplifiers, this is counter clockwise (CCW) to the farthest point. Make sure the input voltage selector is on “Low” if the amplifier has one.
Step 4: Set the head unit volume to 3/4th of its maximum volume. Turn your radio dial to it’s maximum volume and multiply that number by 0.75, this will get you 75% of your maximum volume.
Step 5: Now we must find the voltage that we need to set the gain to. Voltage = square root of watts x ohms. For example, a 500W RMS amplifier at 2 Ohms would configure like this: 500W RMS X 2 Ohms = 1000W. Now take the square root of 1000W and your voltage should be 31.62V if you’re running an amplifier with one gain control. Some amplifiers have 2 gain controls so treat it as two separate amplifiers. If the amplifier is 100W RMS by 4-channels for a total of 400 watts but has two gain controls, use the power output of ONE channel and use that for your voltage calculations. (EX: Square Root of 100W RMS x 2 Ohms = Voltage for each gain control per channel.)
Step 6: Make 100% sure the positive speaker wire(s) are disconnected from the amplifier. Once double checked, insert a test CD with a sine-wave test tone at 0dB level in the frequency range of 50Hz to 60Hz for a subwoofer amplifier or 1,000Hz for a midrange amplifier. Set the head unit to repeat for continuous play of the test tone.
Step 7: Connect a digital multi meter set to AC Volts to the speaker outputs of the amplifier. The positive voltmeter lead will touch the positive speaker wire terminal and the negative lead will touch the negative speaker terminal. If everything is done correctly, a low voltage will be displayed on the voltmeter, usually 6V or below. If you get a high voltage right away, repeat steps 2 and 3. Slowly turn the input sensitivity (gain) up on the amplifier until the target voltage you calculated earlier is reached.
Step 8: Adjust every amplifier in your system using this method; each amplifier is now set to its maximum unclipped output level. Turn the volume on your head unit to zero and turn it off.
Step 9: Reconnect all the positive speaker wire(s) to their respective positive terminals. Double check all wiring and proceed to turn the headunit on. Remove the test tone CD and play a musical track that you are familiar with. Listen for any distortion in the form of buzzing, crackling, hissing, whomping, and various other noises that intrude on the instruments of your music.
This is an accurate way to set your gains to prevent distortion and clipping in your system but it is not the absolute best method. If you really need it done right, use an oscilloscope which can show you if your setup is clipping and distorting or not.
Essential Tools & Gear for Professional Amplifier Tuning
The Professional’s Choice: SMD DD-1 Distortion Detector
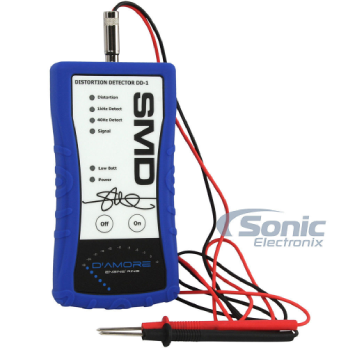
The “Cheat Code” for Perfect Gains
Stop guessing and start tuning like a pro. The SMD DD-1 identifies the exact point where your amplifier begins to clip, acting as the ultimate insurance policy for your subwoofers.
✓ Eliminates speaker-killing distortion
✓ Used by professional installers
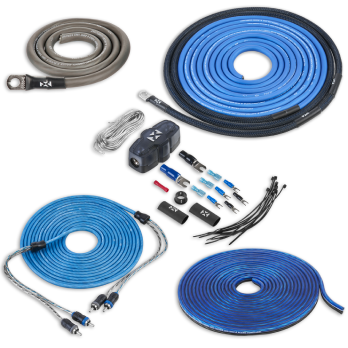
2. The Foundation: NVX XKIT42 100% OFC Wiring Kit
Don’t Starve Your Sound System
Your amplifier can only perform as well as the power it receives. This 100% Oxygen-Free Copper (OFC) kit ensures maximum current flow, preventing voltage drops during the tuning process.
✓ Superior conductivity over cheap CCA kits
✓ Includes everything for a clean install
Real-Time Monitoring: Stinger SVMB Voltage Display
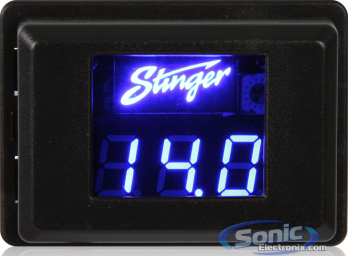
Real-Time Protection on Your Dash
Setting your gains is only half the battle. This sleek LED display lets you monitor your vehicle’s voltage in real-time, letting you know exactly when your electrical system is under stress.
✓ Mounts easily in any vehicle
✓ Instant feedback while you drive
About The Authors
Staff Writer
Staff writers at Sonic Electronix are experts in their field. In addition to a complete in-house training program, these experts typically have many years of hands-on experience in their specialty. Some come from car audio installer backgrounds, while others come with extensive retail experience.


